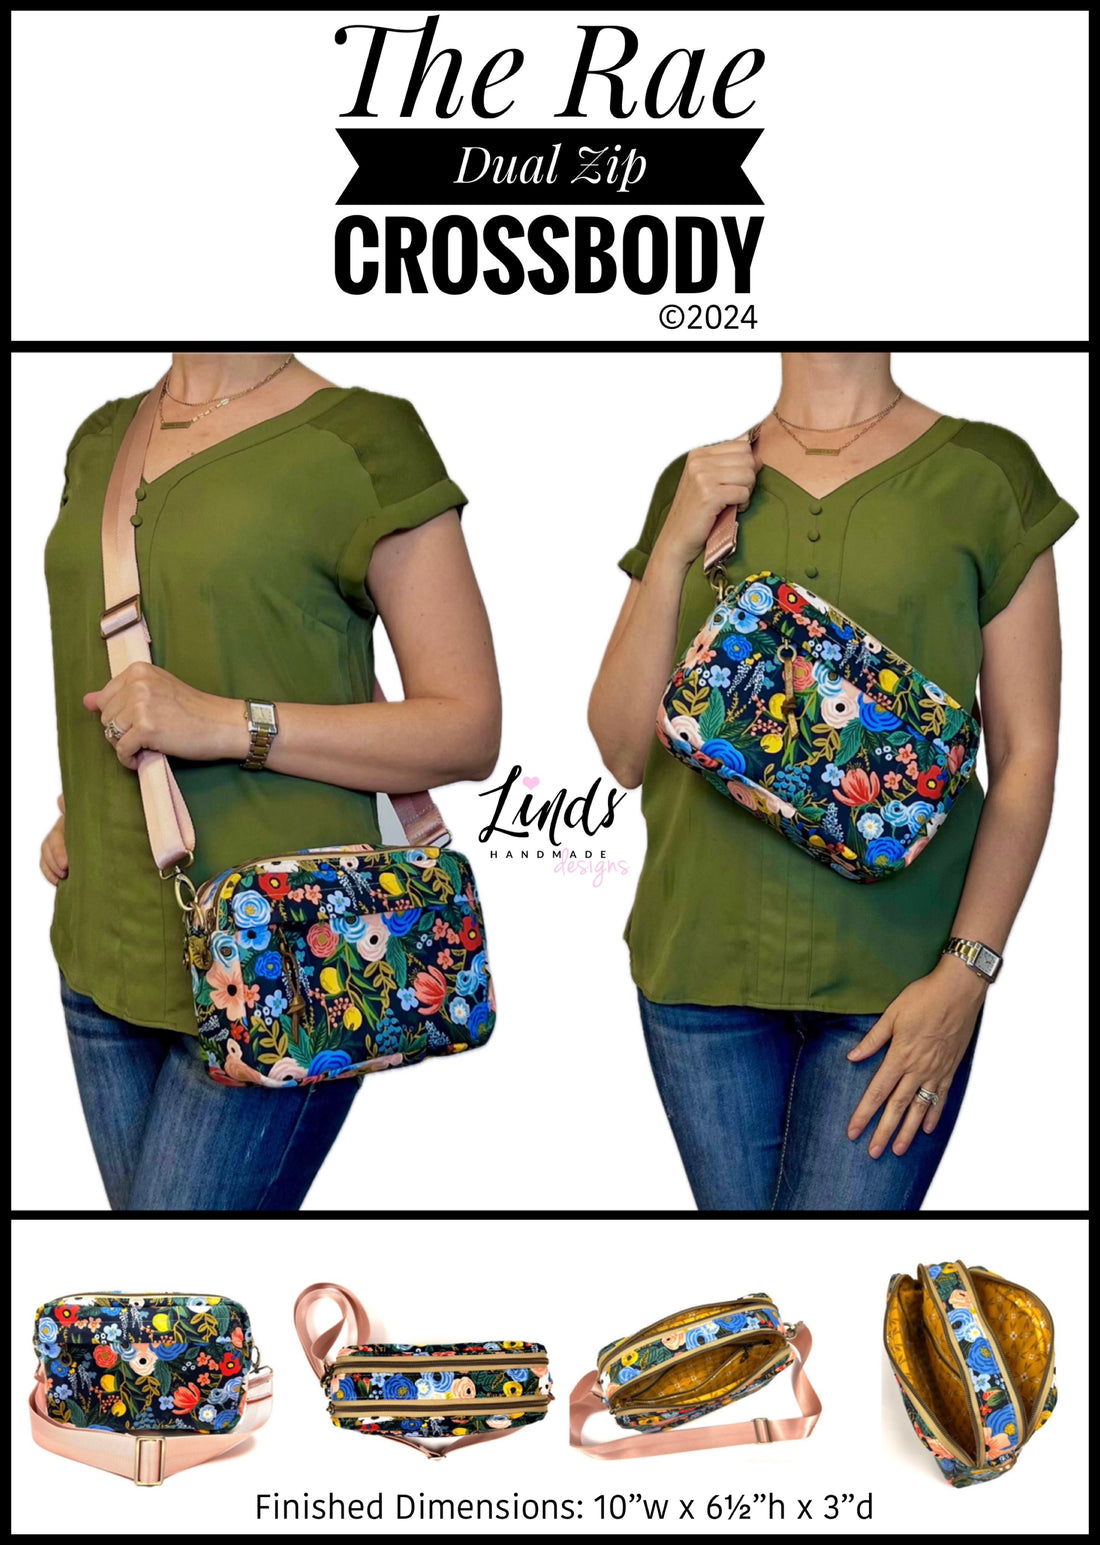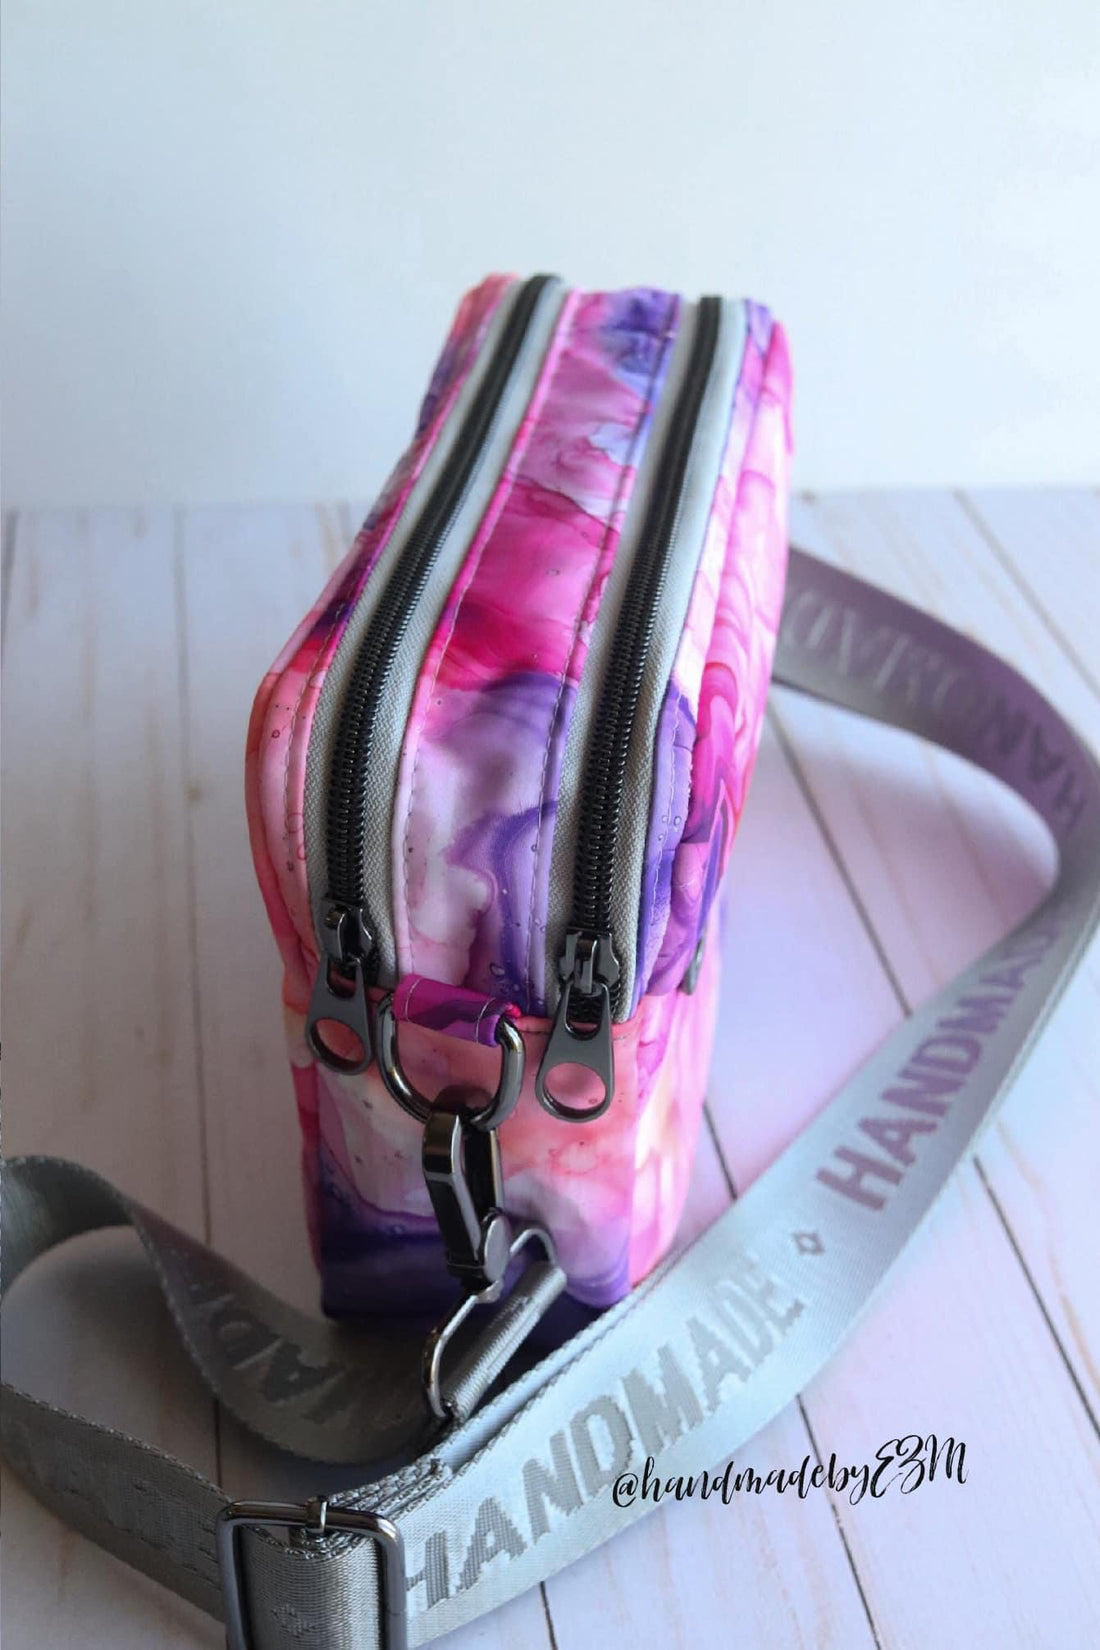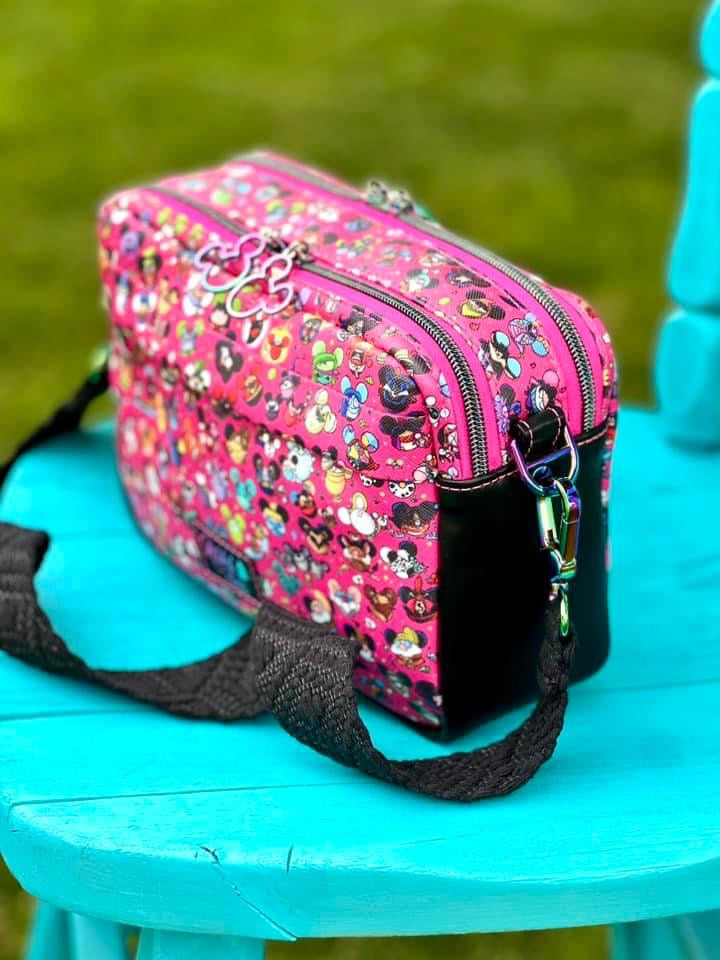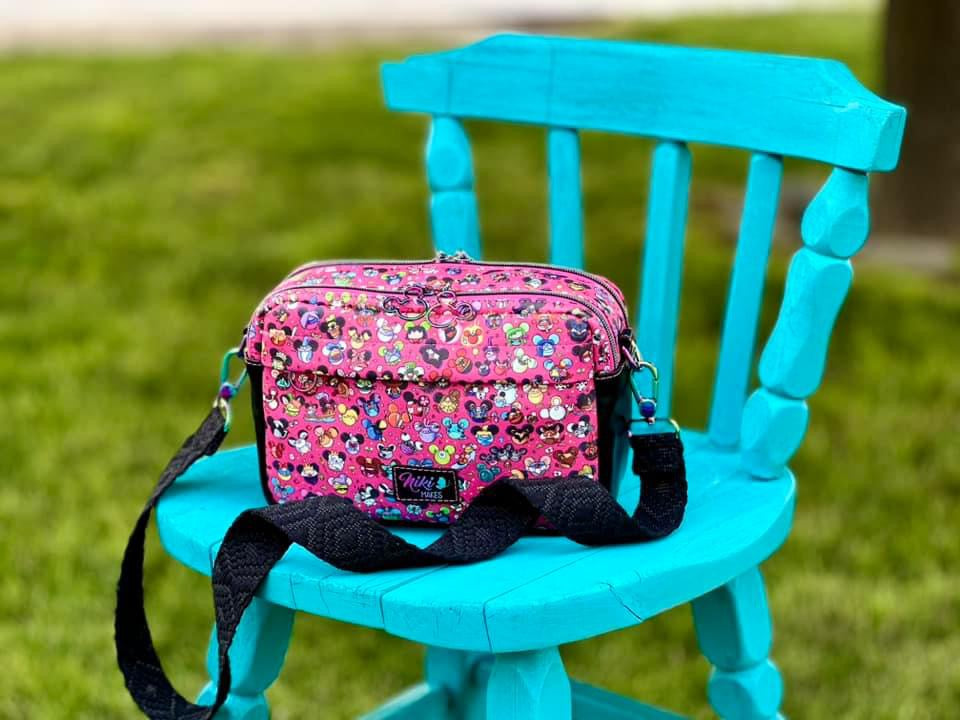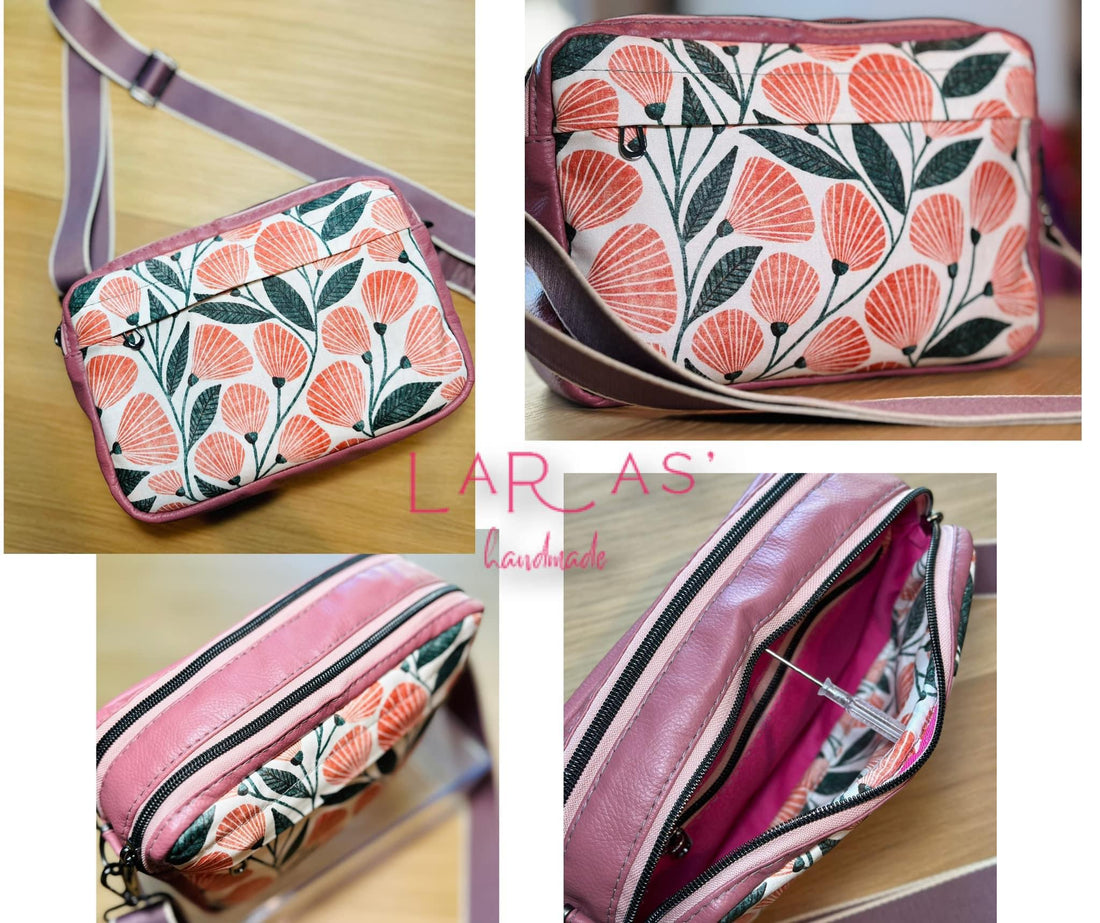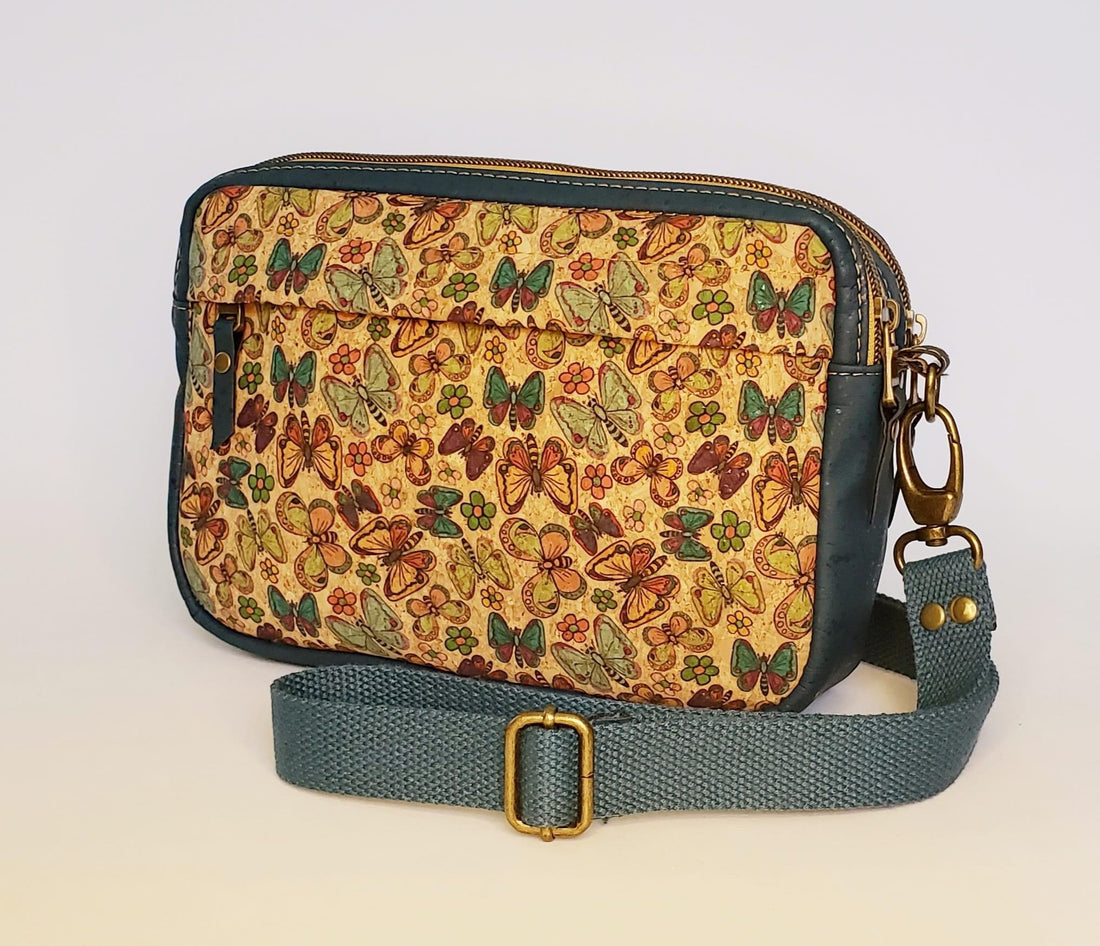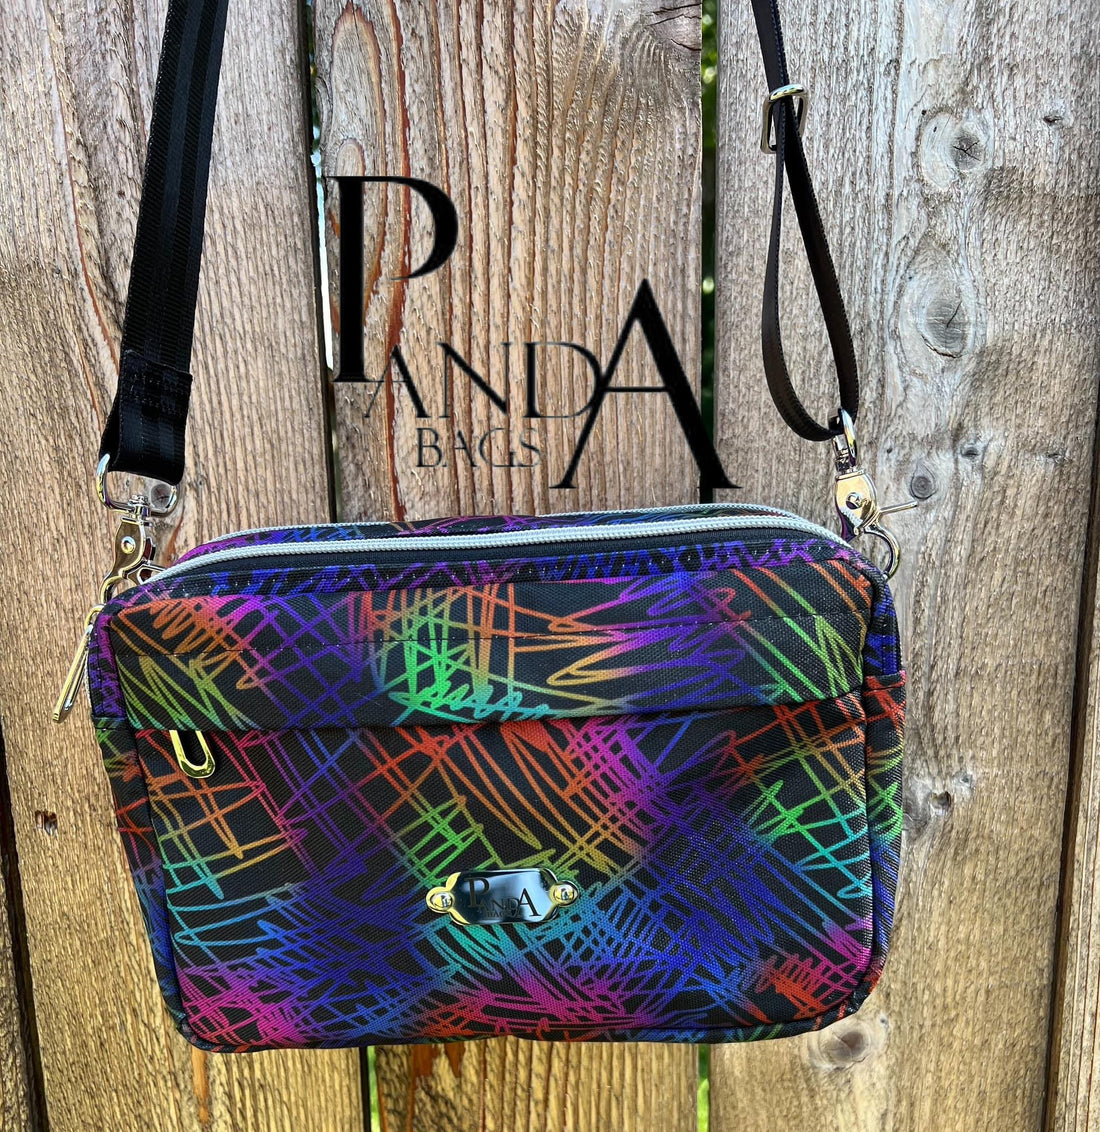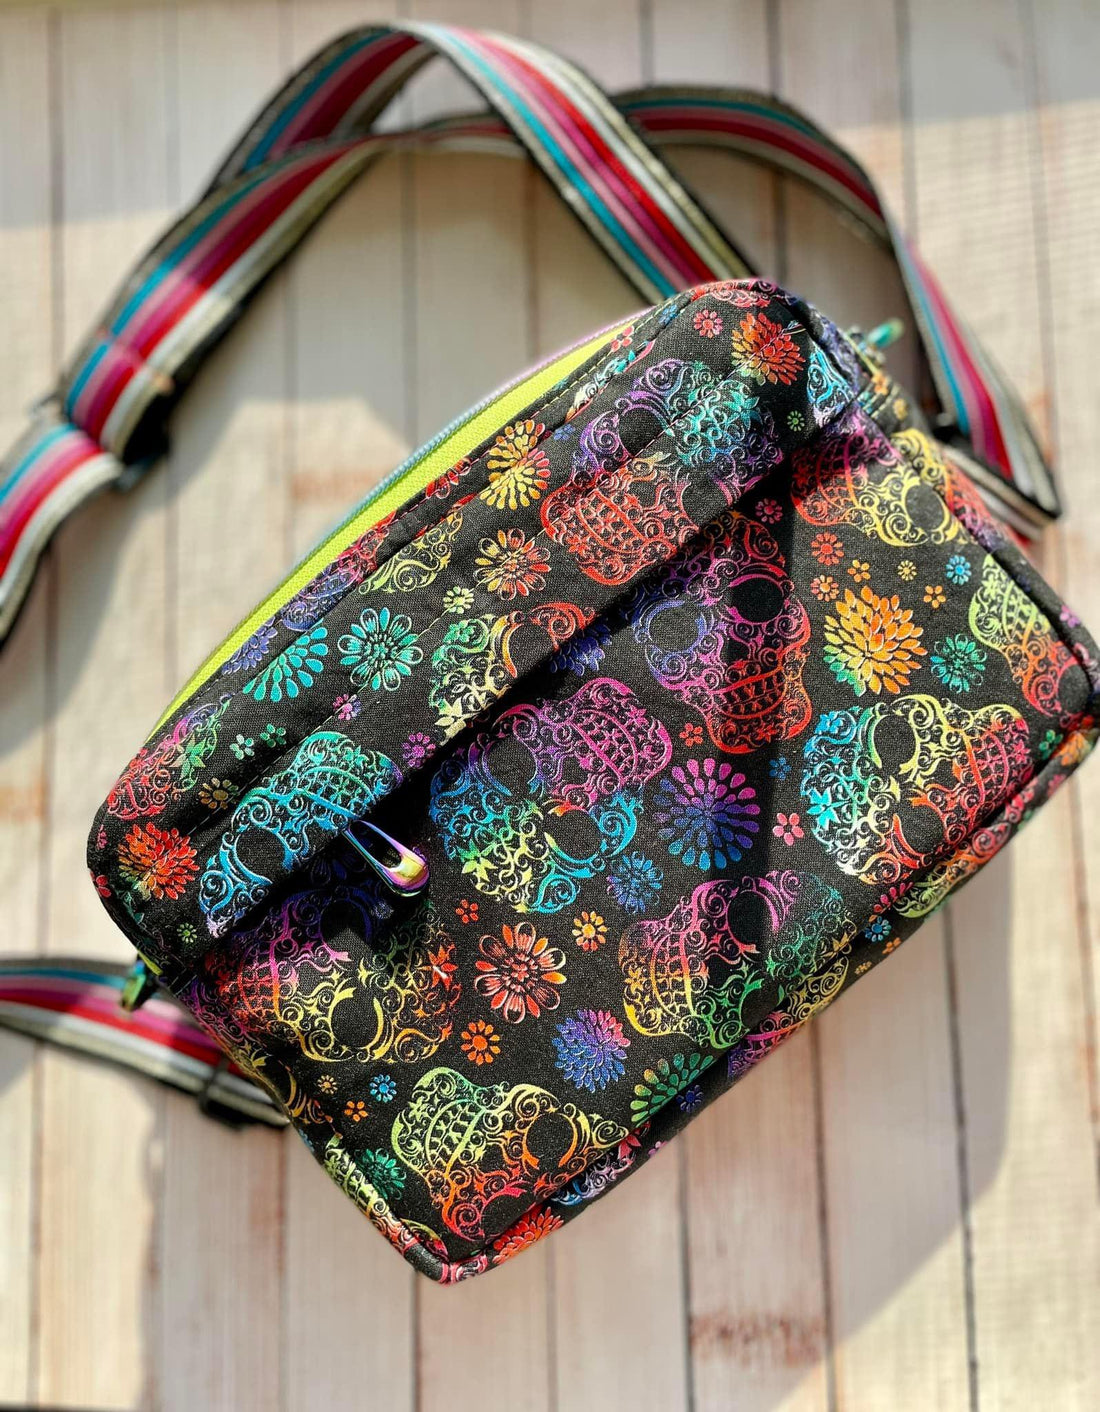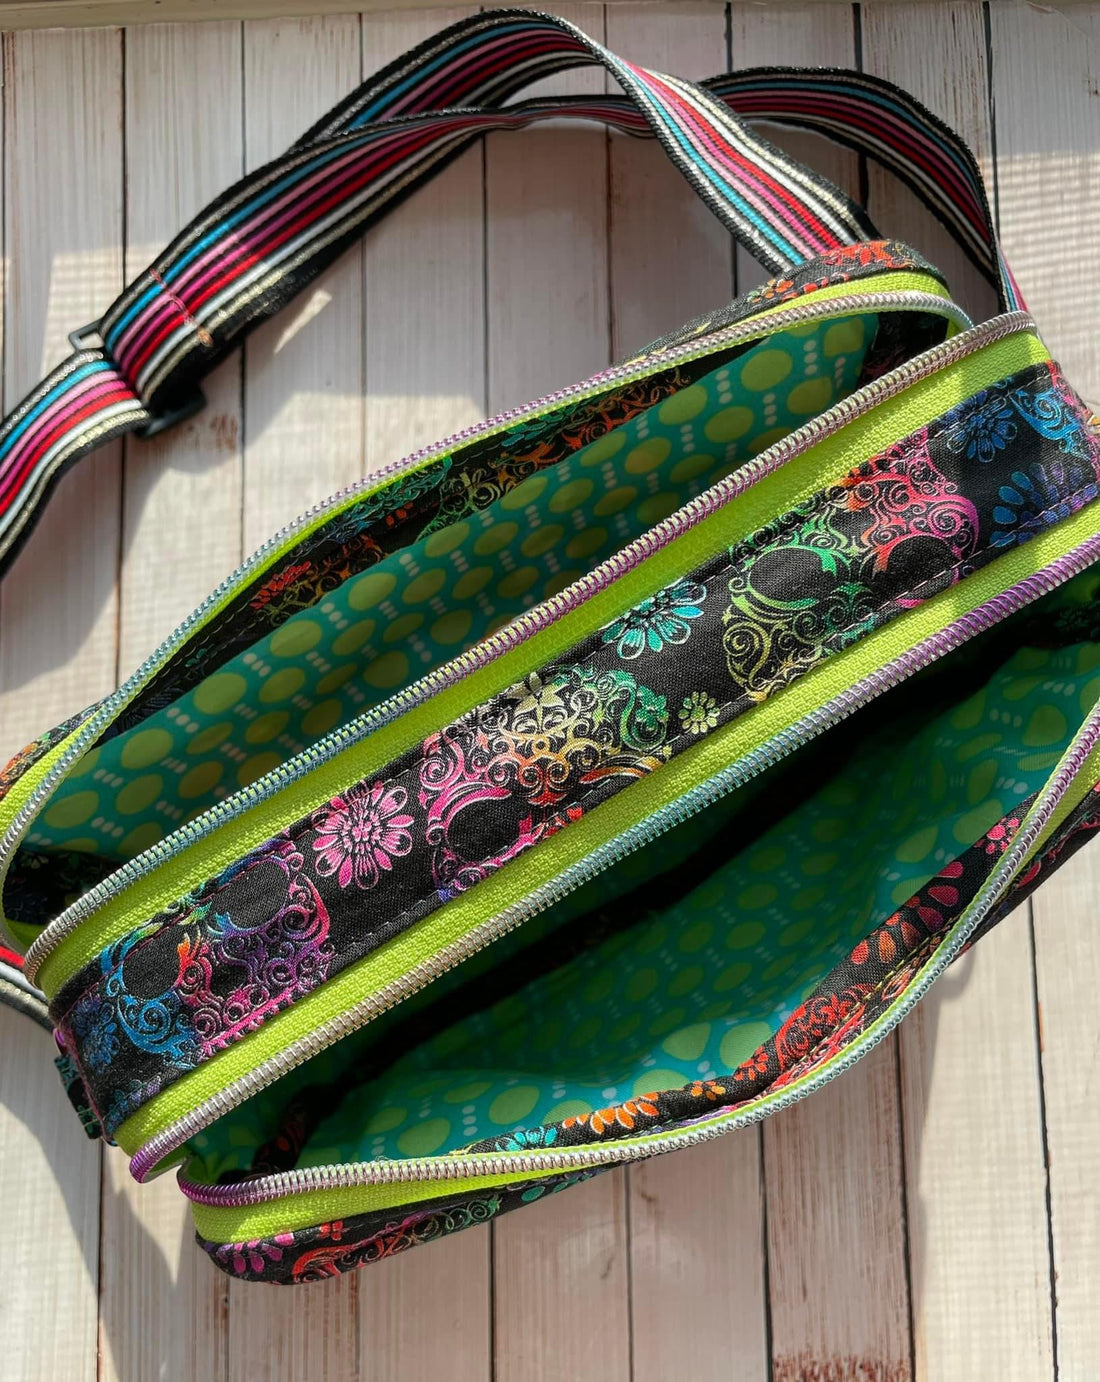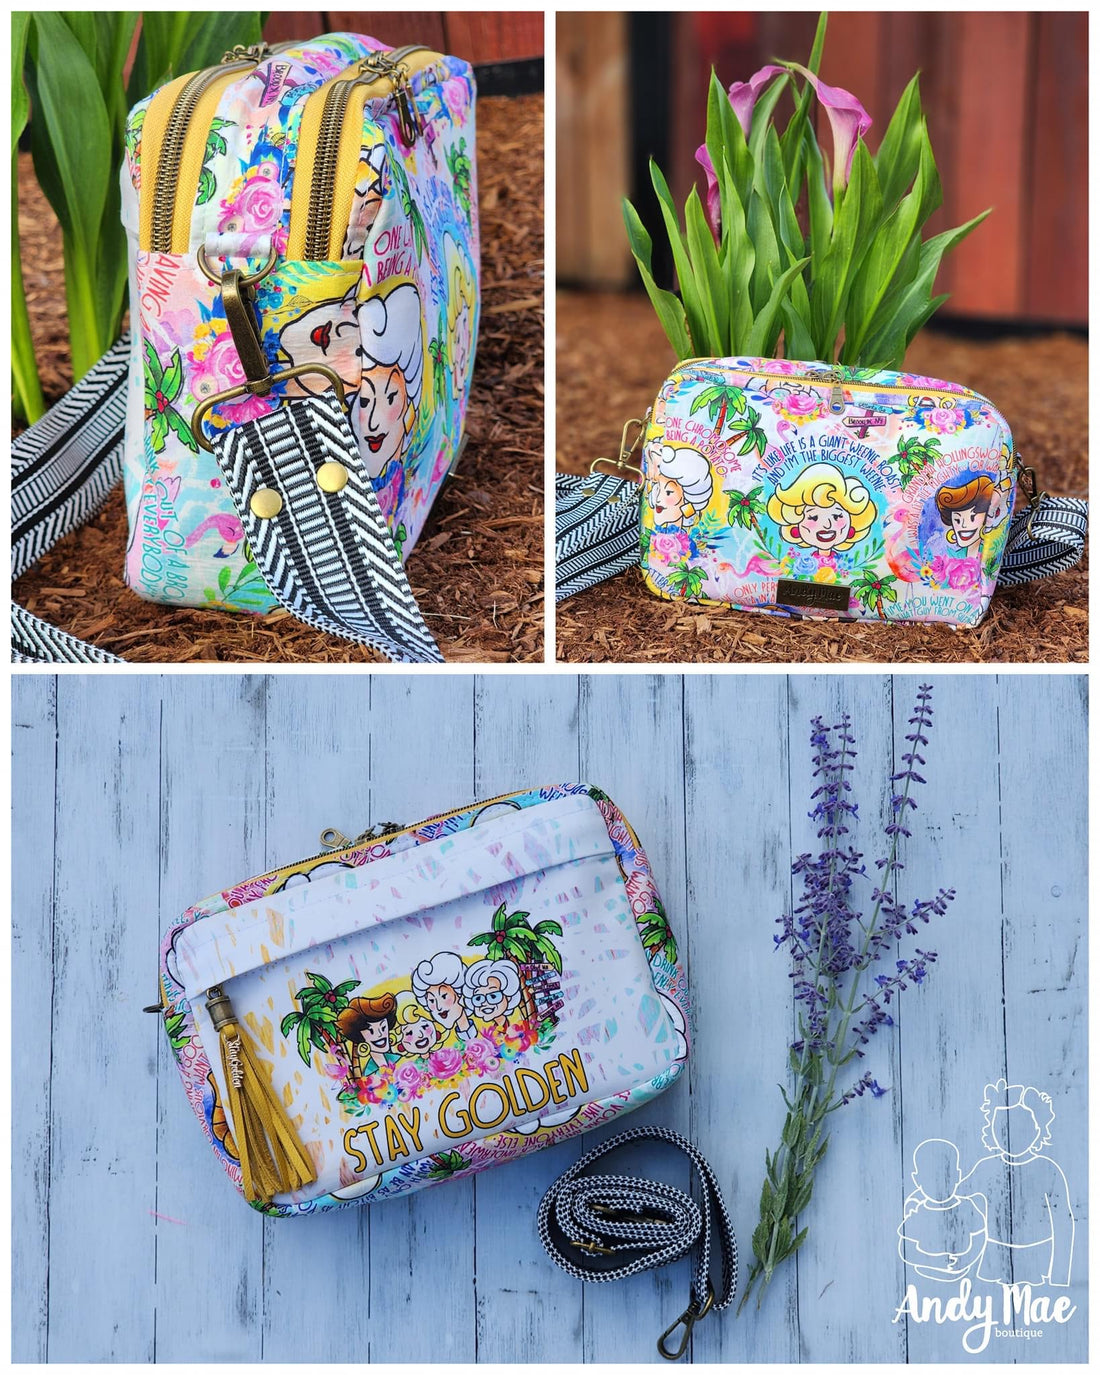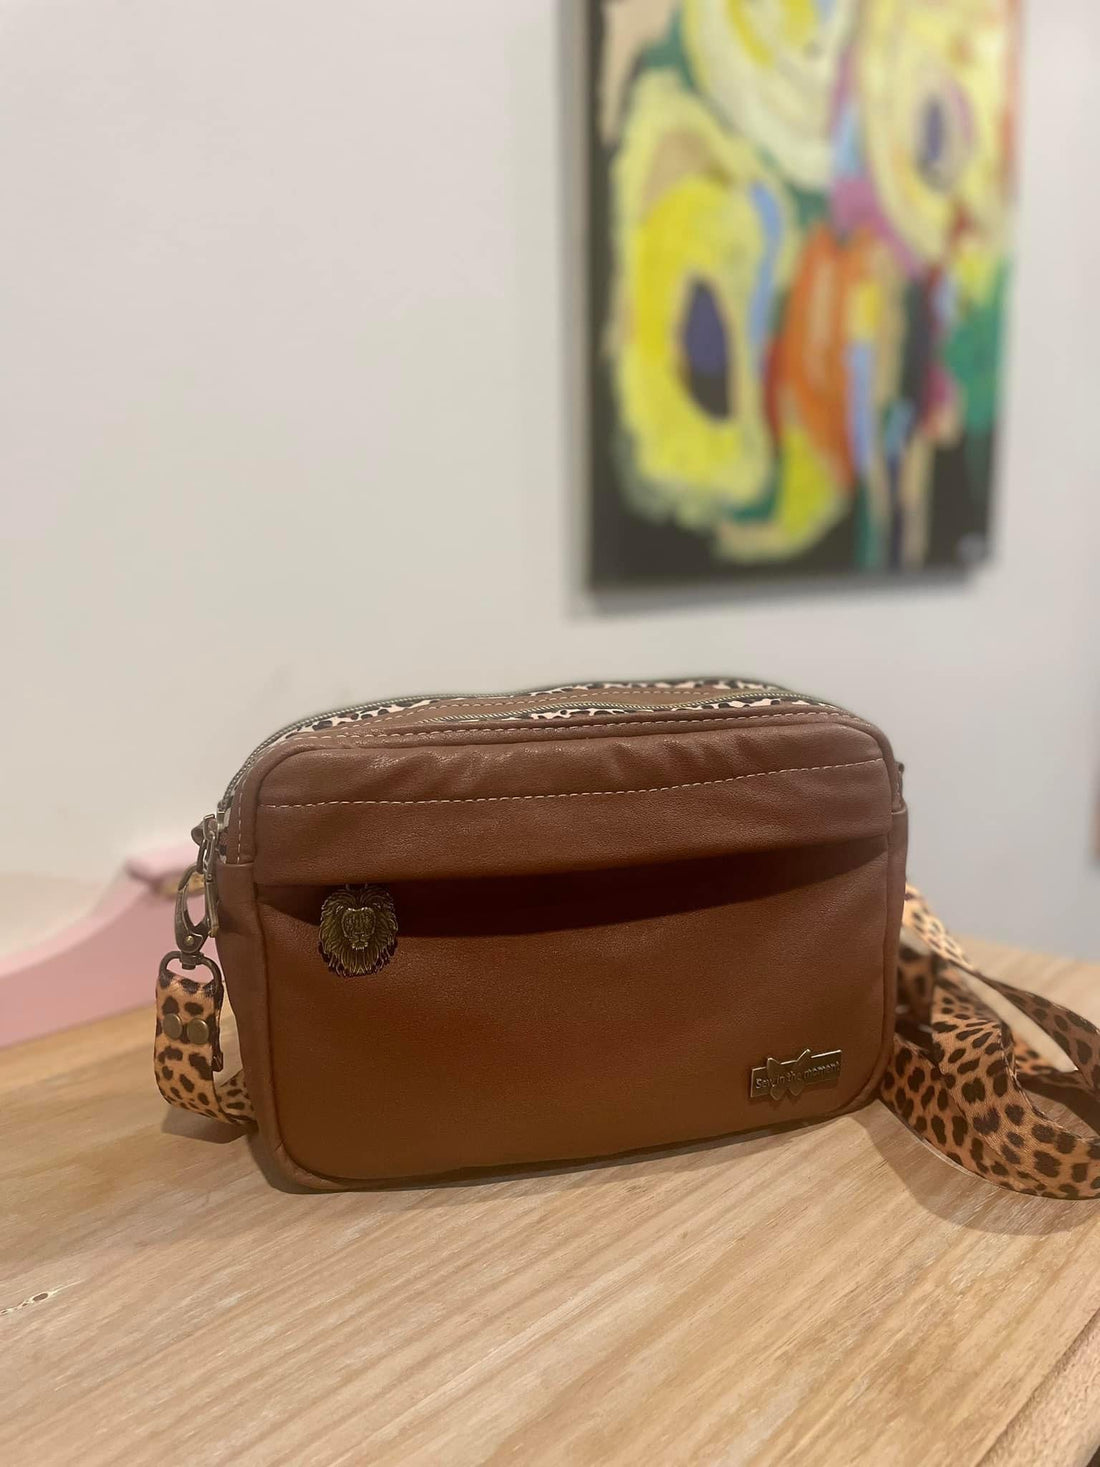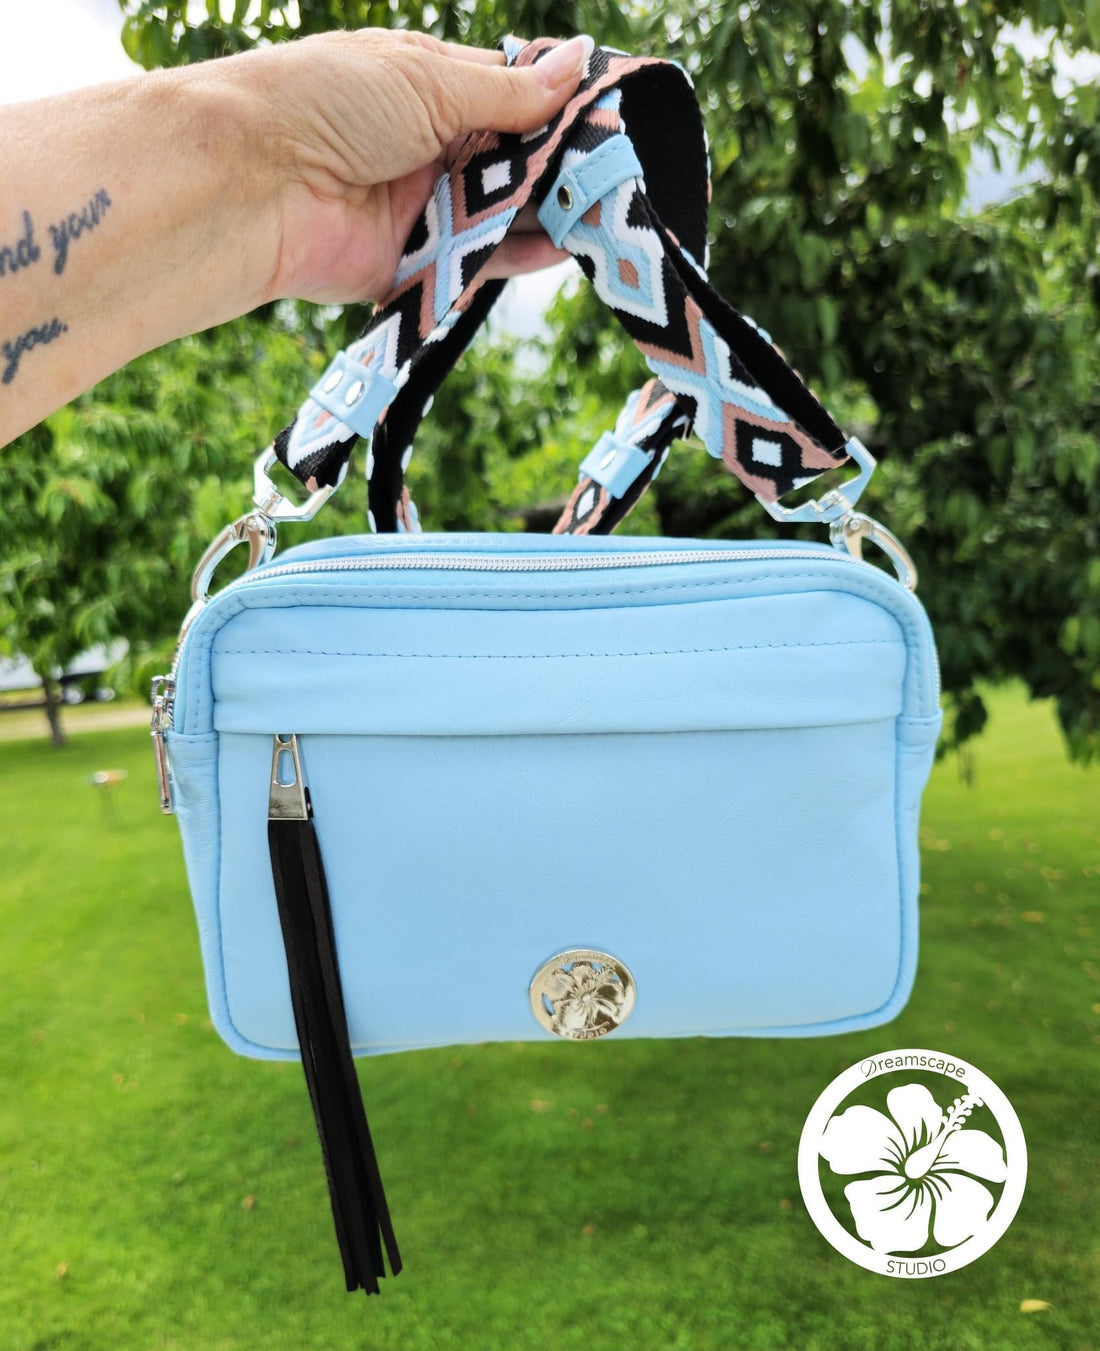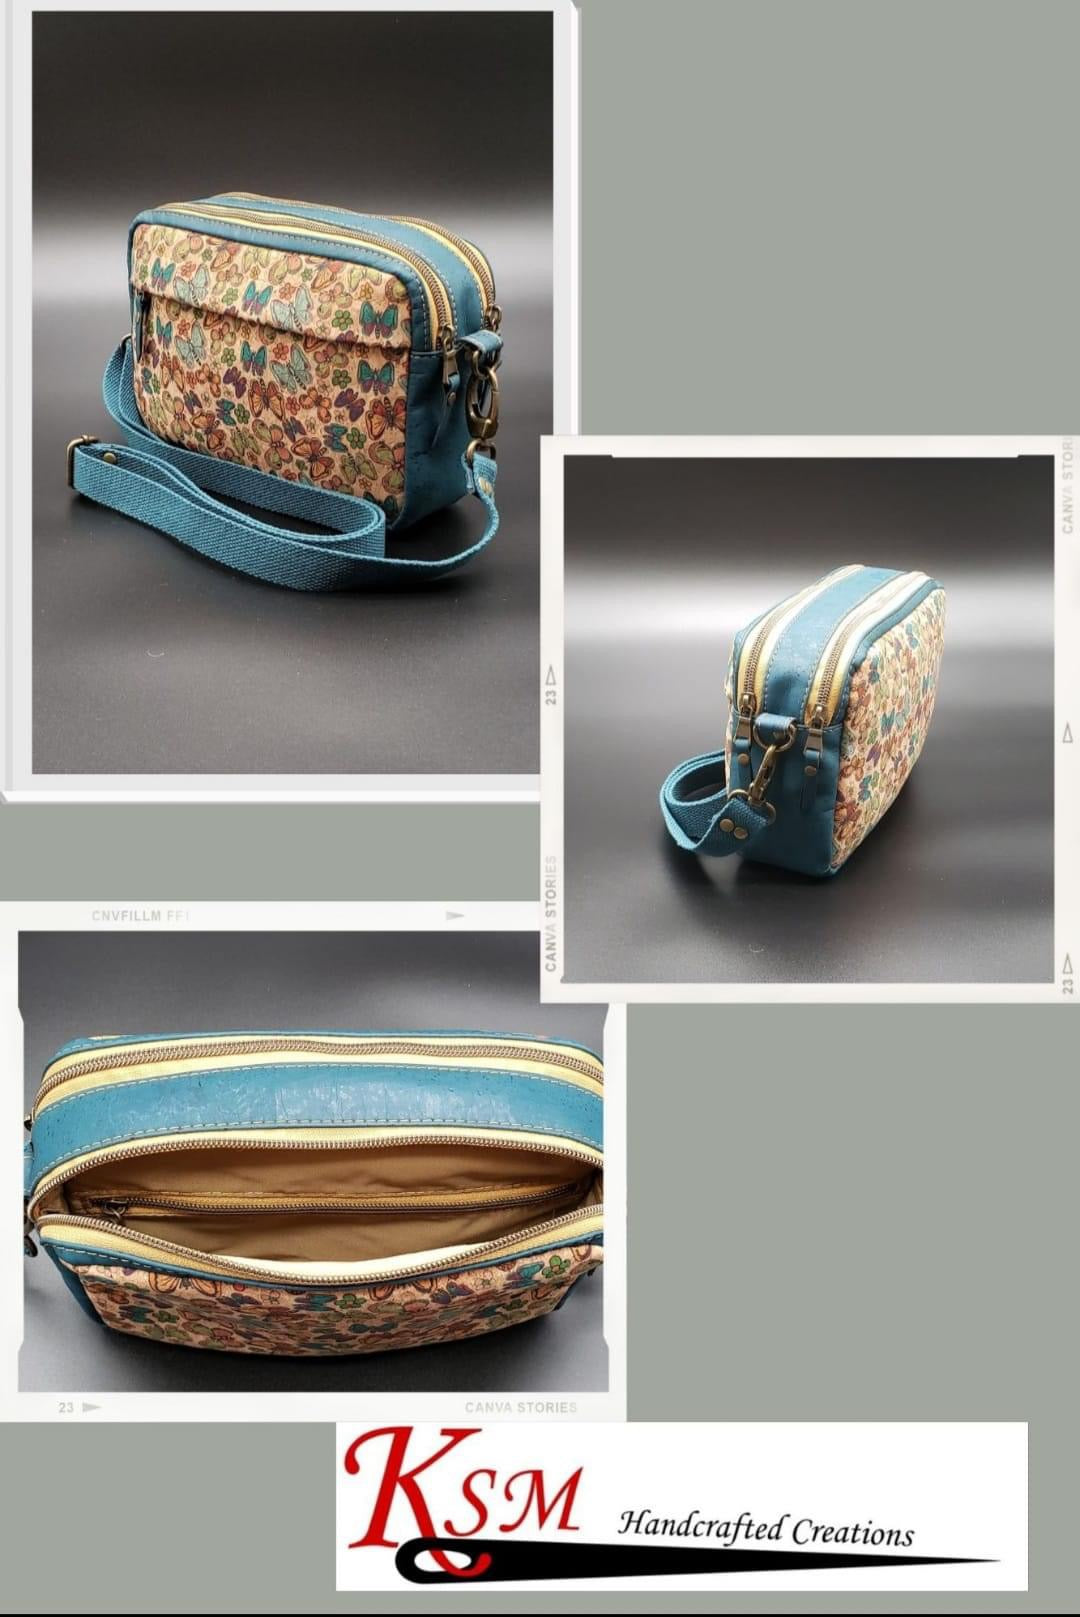
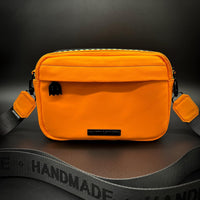
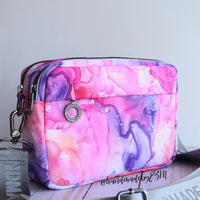
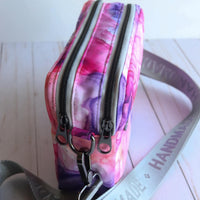
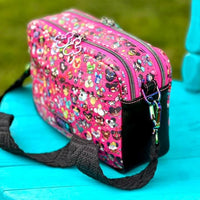
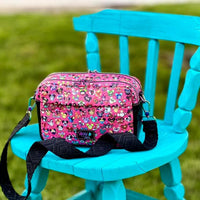
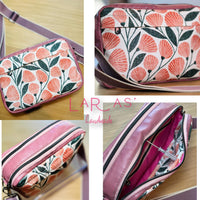
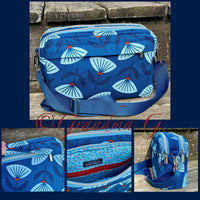
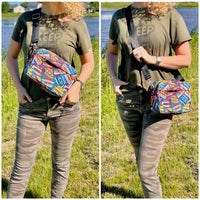
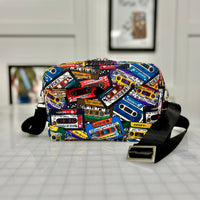
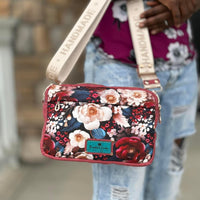
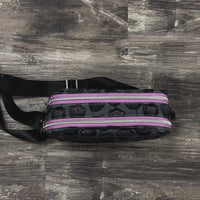
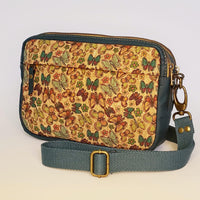


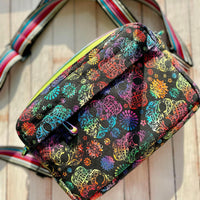
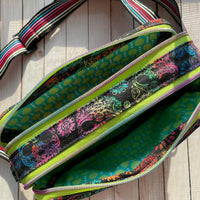
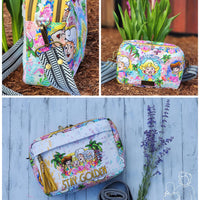
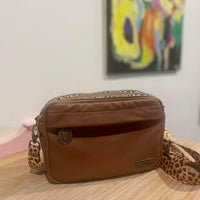
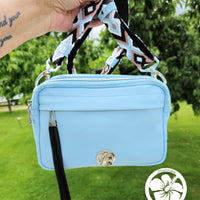
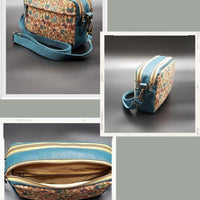
Rae Dual Zip Crossbody PDF Sewing Pattern (includes SVGs, A0 File, Projector File and Video!)
This listing is for a DOWNLOADABLE PDF pattern only! If you want to make your own crossbody bag, you’re in the right place. You are NOT buying a completed bag. By purchasing this pattern Linds Handmade LLC grants the purchaser a non-exclusive, non-transferable, simple right of use license to use the sewing pattern for personal or limited commercial use. The rights to reproduce, publish or distribute the sewing pattern in whole or in part, to allow third parties to use it, to edit it or to change it in any form is strictly prohibited. Commercial use is limited to individual brand sales and is prohibited for mass production or manufacturers.
With this purchase, you will receive an instant download PDF pattern with detailed pictures and step by step instructions on how to make your own Rae Dual Zip Crossbody bag. This pattern is for the advanced bag maker as it uses advanced bag making techniques, including binding to finish. As written, this pattern can be made on most domestic machines. We’ve included dozens of pictures to accompany each step, as well as a cut chart if you prefer not to print out any of the rectangle pattern pieces. As with all our patterns, we have a full video tutorial available on our YouTube channel Linds Handmade Designs.
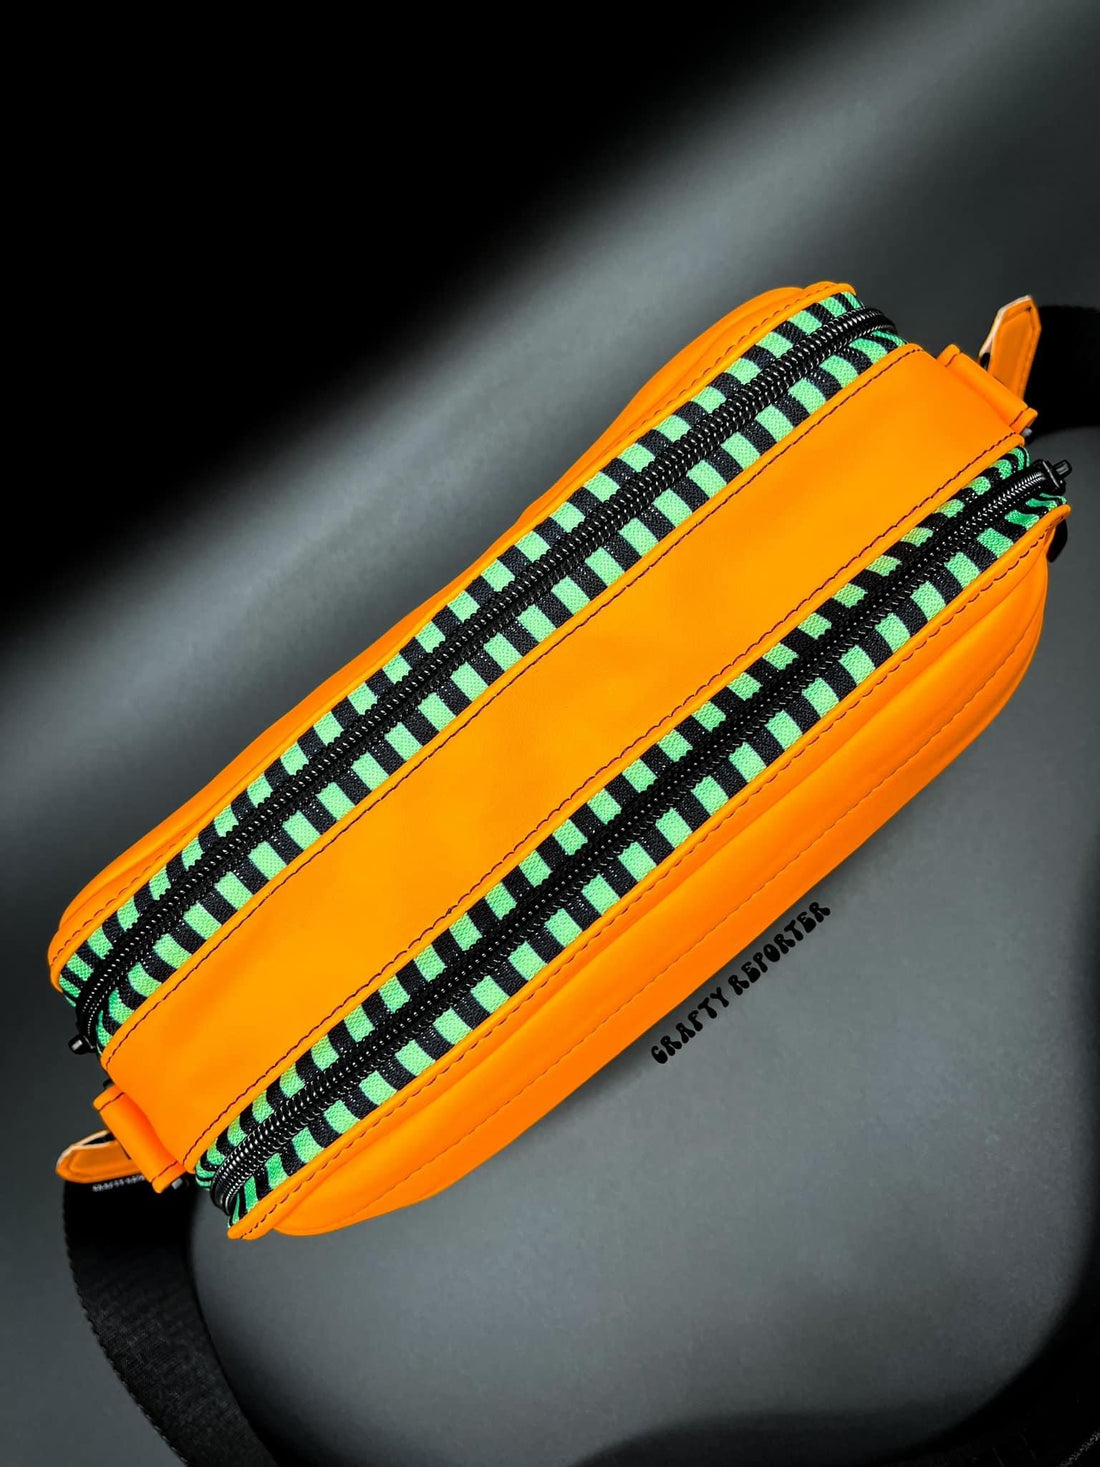
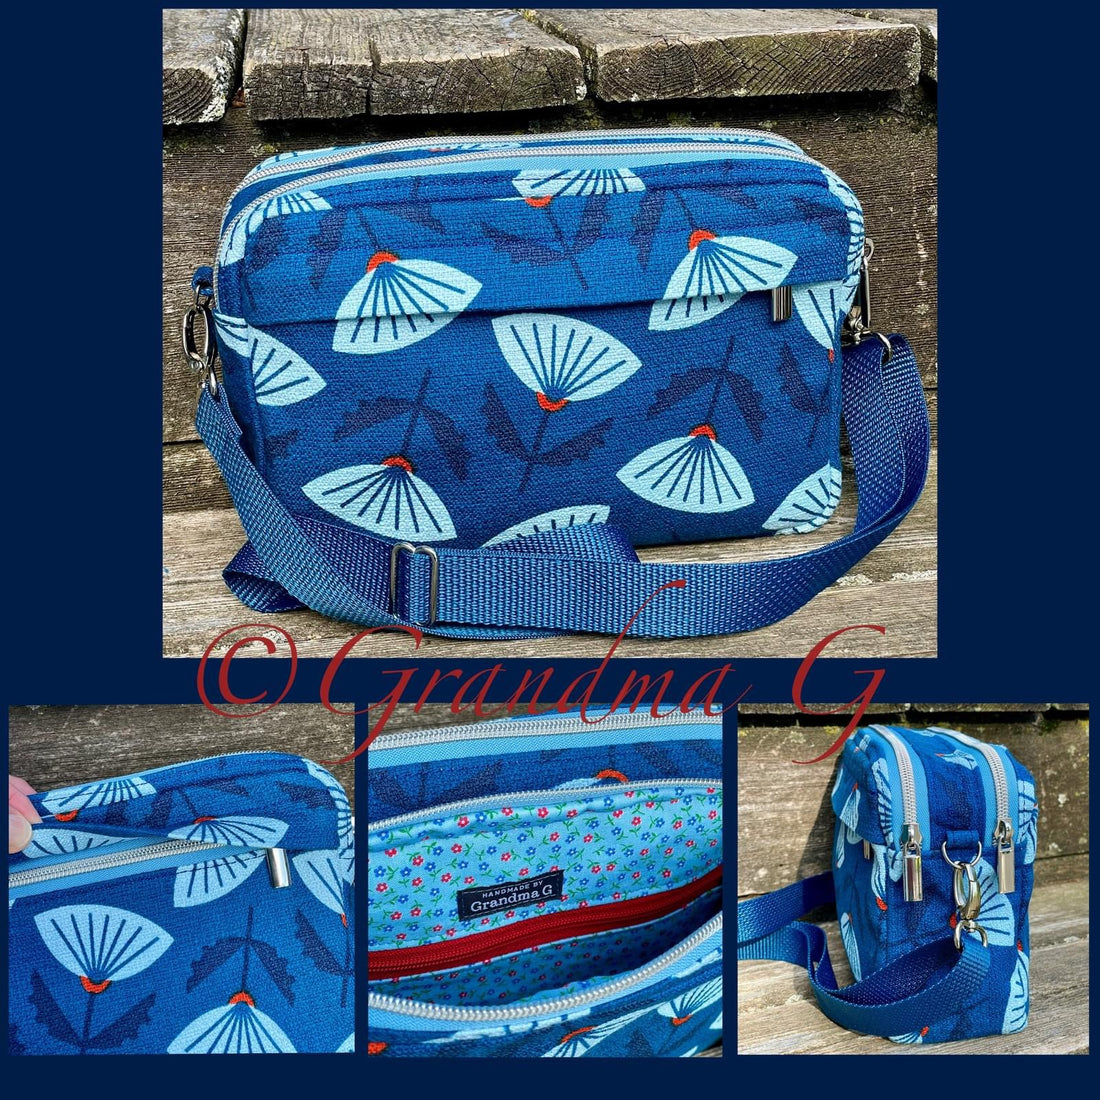
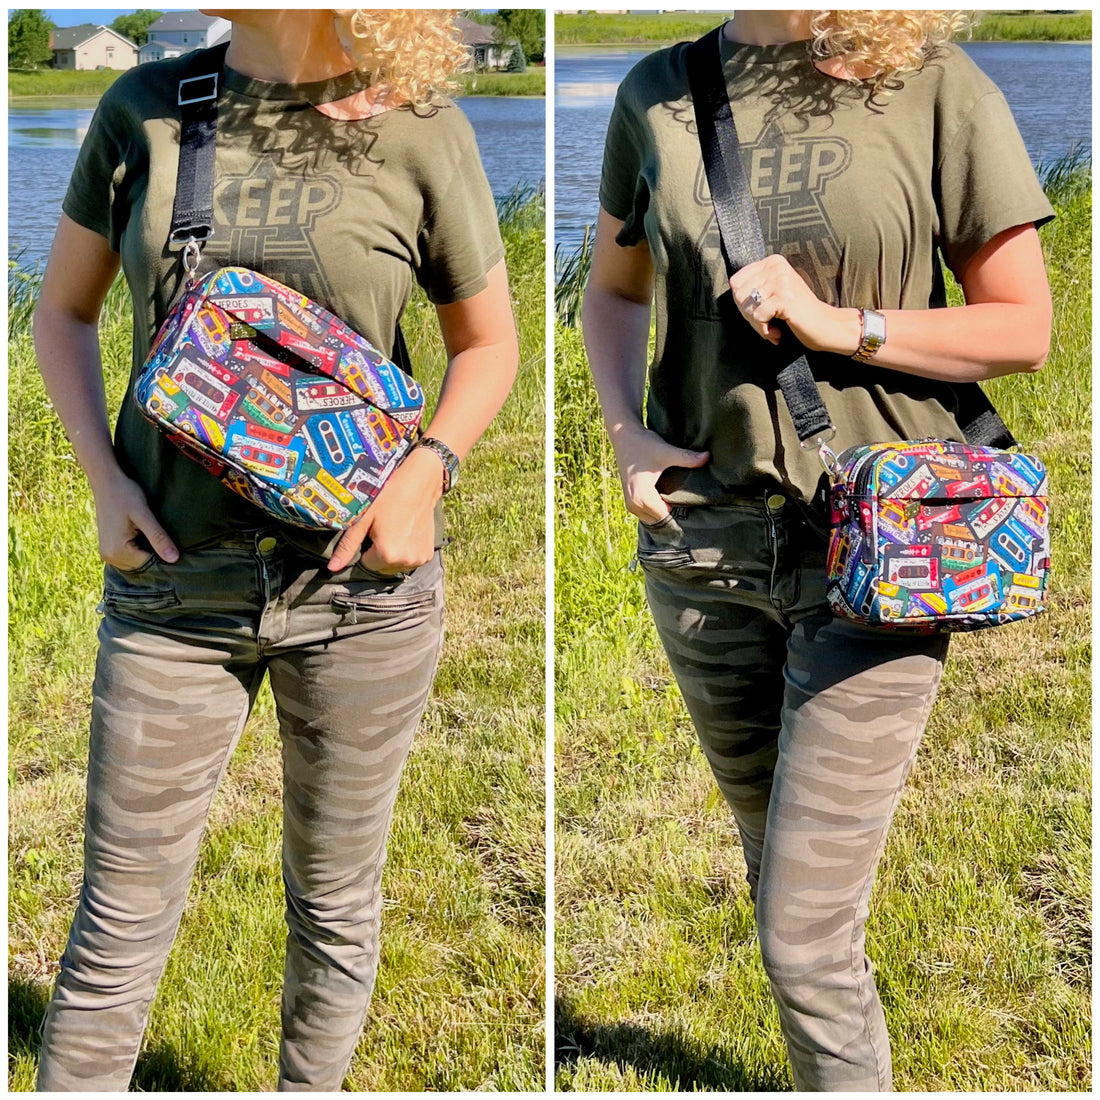
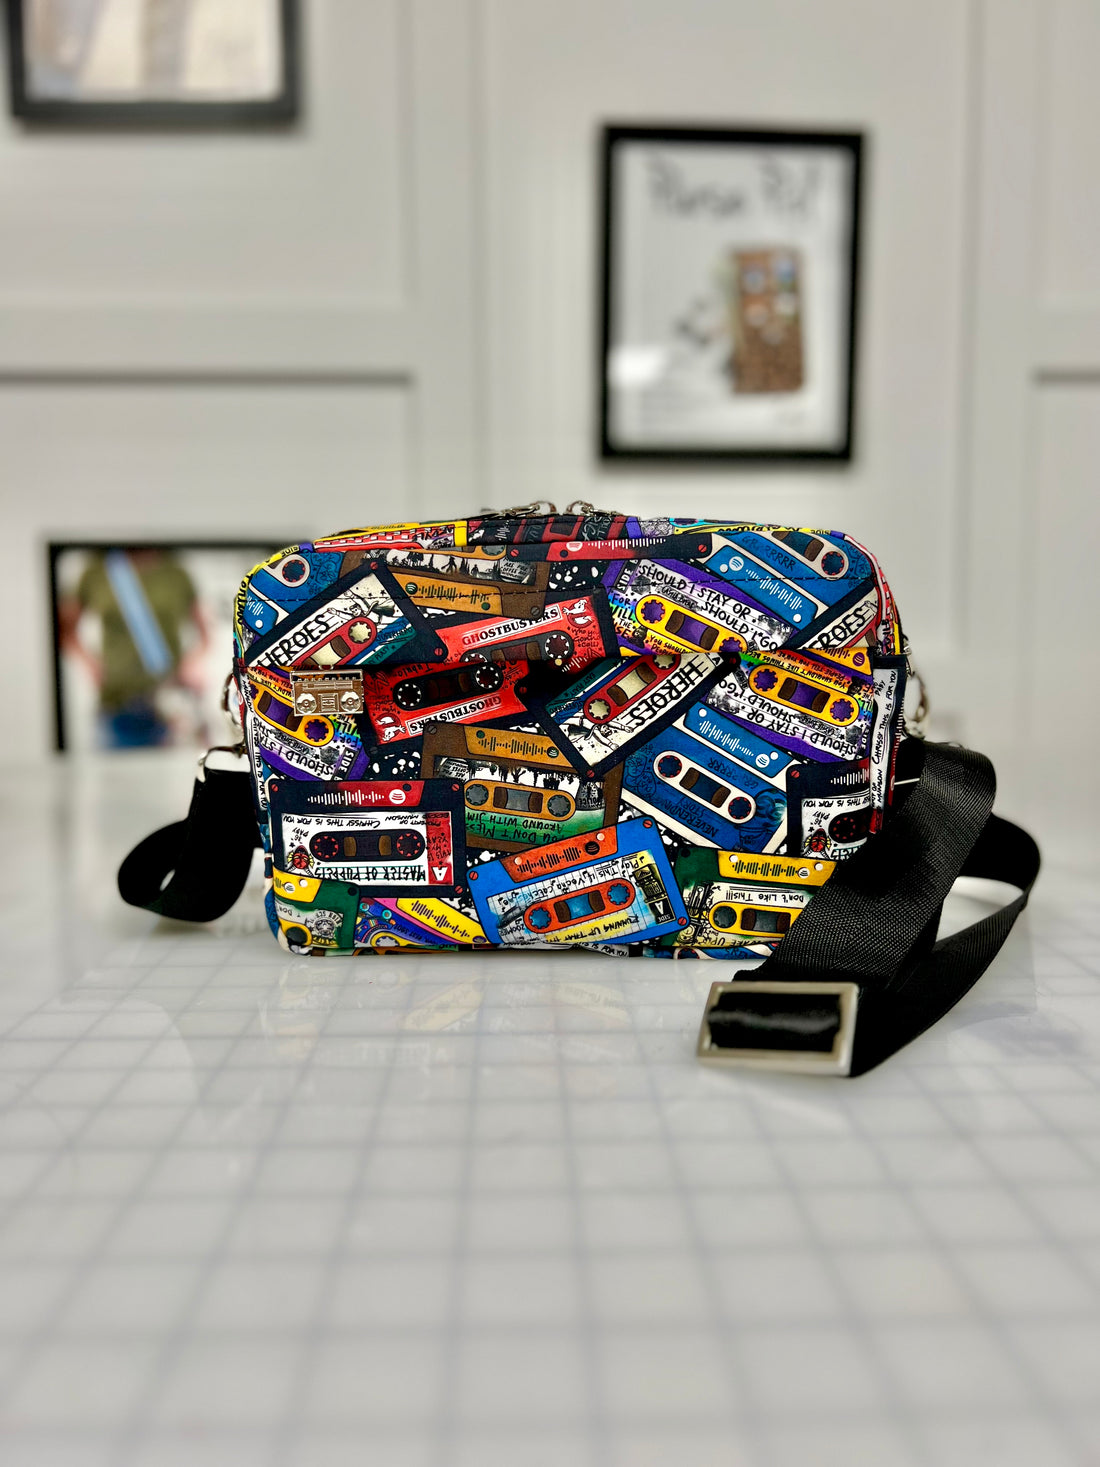
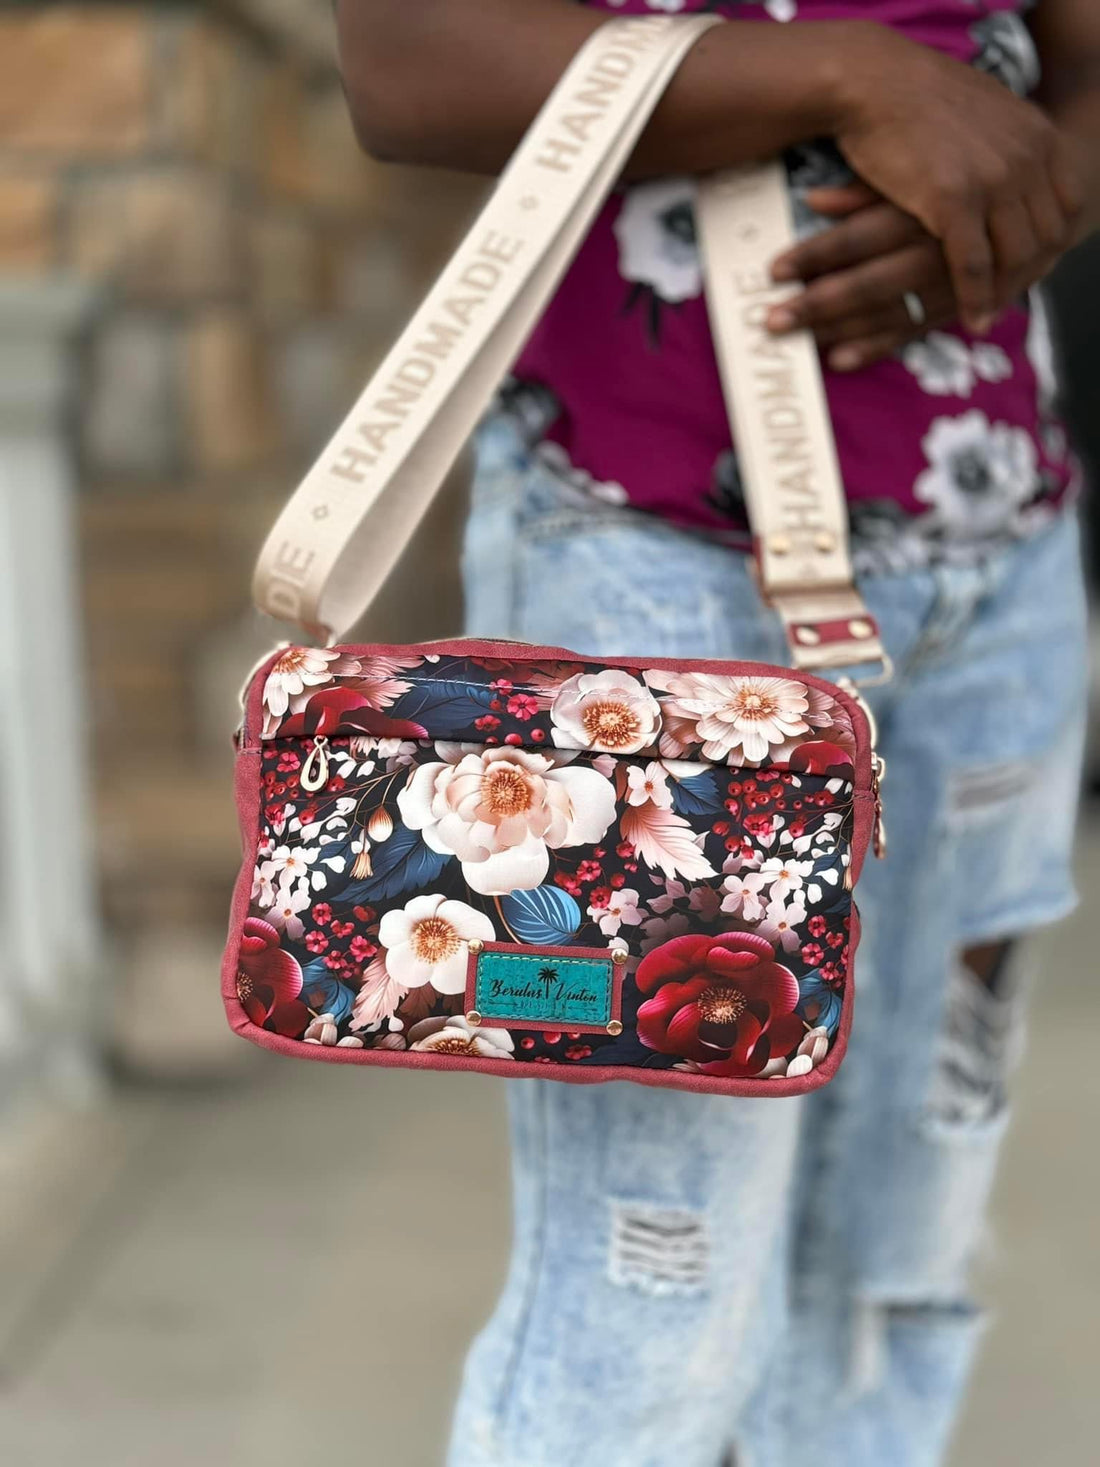
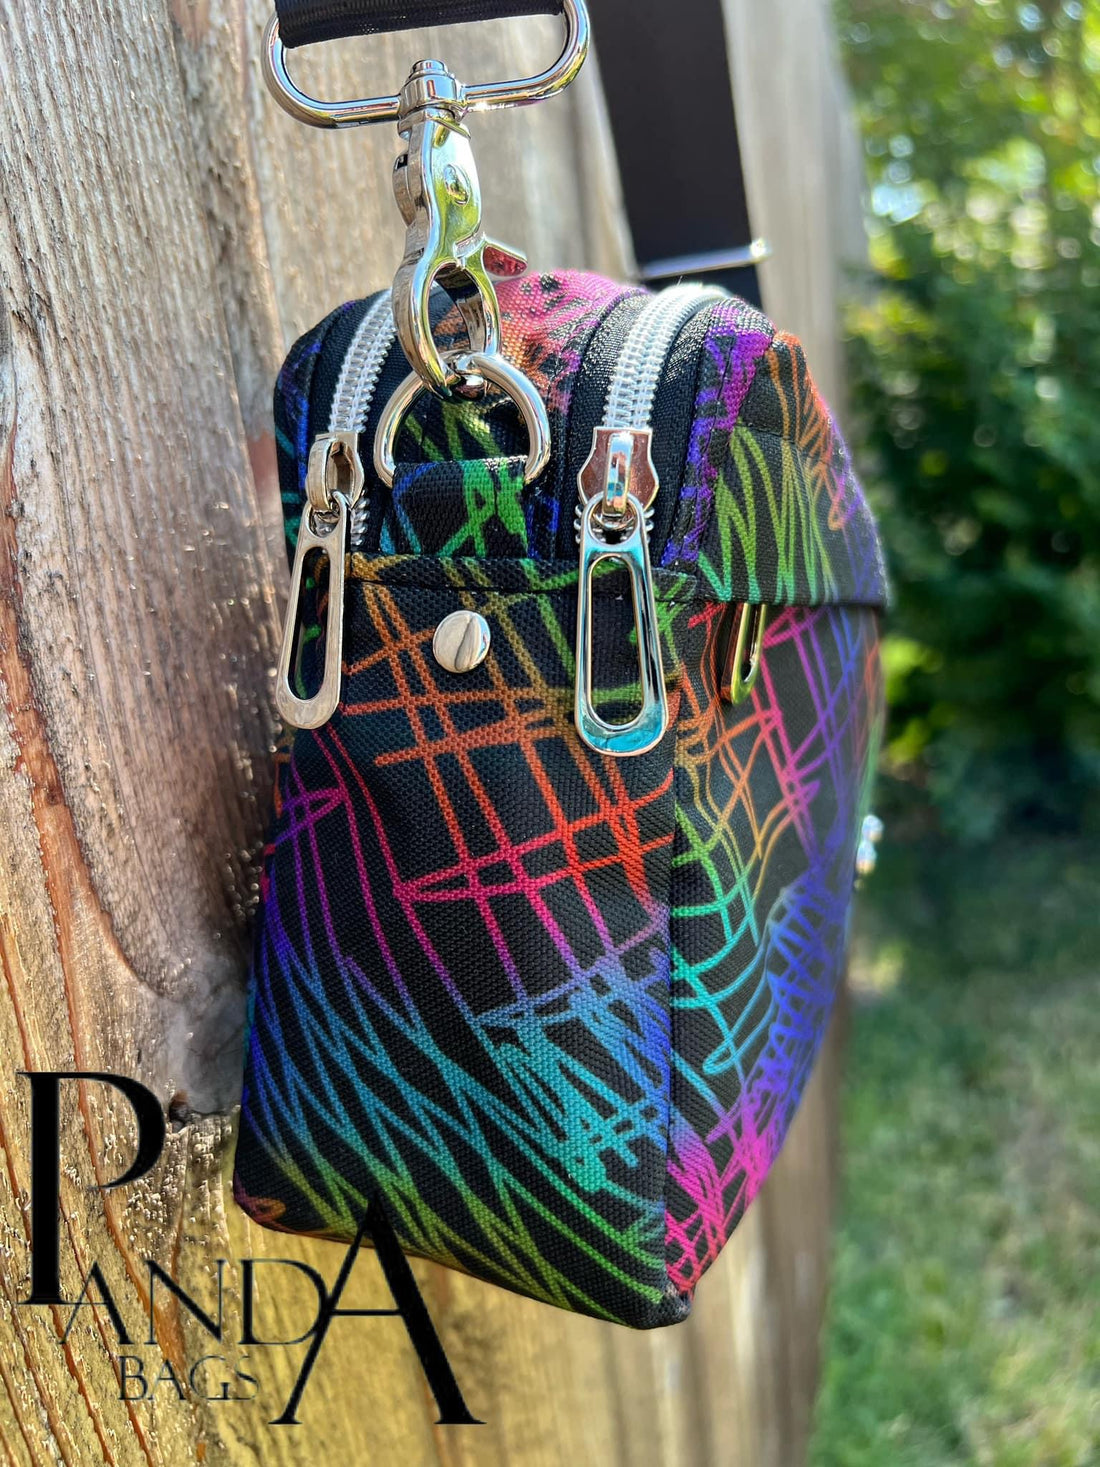
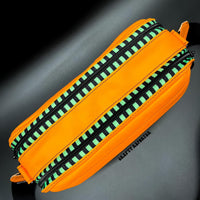
Specs: Finished bag is approximately 10” wide by 6½”h by 3” deep. As the name implies, this bag has 2 main center compartments, 1 exterior “hidden” zipper pocket on the front, as well as 1 interior zipper pocket.
Materials & Supplies:
- ⅓ yd (0.3m) exterior fabric
- ½ yd (0.5m) lining fabric
- 1 yd (1m) 45” midweight woven interfacing*
- ½ yd (0.5m) Decovil light
- (2) ¾” (19mm) d rings
- (2) 1½” (38mm) swivel clasps
- (1) 1½” (38mm) strap adjuster
- 1¼ yds (1.25m) #5 zipper tape
- (4) #5 zipper pulls (6 pulls if doing 2 way zippers for both main compartments)
- 1½-2 yards (1.5m-2m) 1½” (38mm) wide webbing
- (2) small ¼” (6mm) rivets and setting tool (*optional)
- 3/32” (2.4mm) leather hole punch or rotary punch (*optional for rivets)
- ⅛” (3mm) double-sided tape
- Craft glue stick (*optional)
- Wonder clips or metal hair clips
- Stapler (*optional but highly recommended)
- Staple remover (*optional but highly recommended)
- Quilting ruler
- Rotary cutter
- Marking pen
Be sure to subscribe to our Youtube channel and join our Facebook group “Linds Handmade Designs” to show off your creations!

